This page looks best with JavaScript enabled

Python

 ·  ☕ 3 min read

文件操作

1
2
3
# 递归删除一个目录以及目录内的所有内容(包括这个目录)
shutil.rmtree( src )   
# maybe_mkdir_p

pip

cv2

1
pip install opencv-python

安装成功之后Docker ubuntu 中会报错:

1
2
ImportError: libGL.so.1: cannot open shared object file: No such file or directory
ImportError: libgthread-2.0.so.0: cannot open shared object file: No such file or directory

解决:

1
2
apt-get install -y libgl1-mesa-dev
apt-get install libglib2.0

pyradiomics

在使用pytorch官方docker镜像时,安装pyradiomics时会报错

  1. 首先是镜像中没有gcc编译器,而pyradiomics是需要gcc来进行编译的

  2. ERROR: Cannot uninstall ‘ruamel-yaml’

    这个是因为原先的镜像中已经有了ruamel.yaml和ruamel.yaml.clib,如果单独卸载ruamel.yaml会报错:“It is a distutils installed project and thus we cannot accurately determine which files belong to it which would lead to only a partial uninstall.”

    • 通过pip -V找到site-packages的路径
    • 删除site-packages文件夹内所有ruamel的文件
    • 再次进行pip install pyradiomics的安装

pip 配置

1
2
3
4
5
6
7
## 源
pip config set global.index-url https://mirrors.aliyun.com/pypi/simple/
# pip config set install.trusted-host mirrors.cloud.aliyuncs.com
# Writing to C:\Users\username\AppData\Roaming\pip

## 缓存位置
pip config set global.cache-dir "D:/install/pip_cache"

Python虚拟环境

创建虚拟环境

https://docs.python.org/zh-cn/3/library/venv.html

1
python -m venv /path/to/new/virtual/environment

Optional:

  • system-site-packages: Give the virtual environment access to the system site-packages dir.

    1
    
    python -m venv ./venv --system-site-packages
    

激活虚拟环境

windows环境下,进入虚拟环境路径下的Scripts文件夹中

使用cmd命令行,输入activate激活虚拟python环境,注意!powershell有可能不太行,更改一下Powershell的脚本运行权限;是activate不是activate.bat

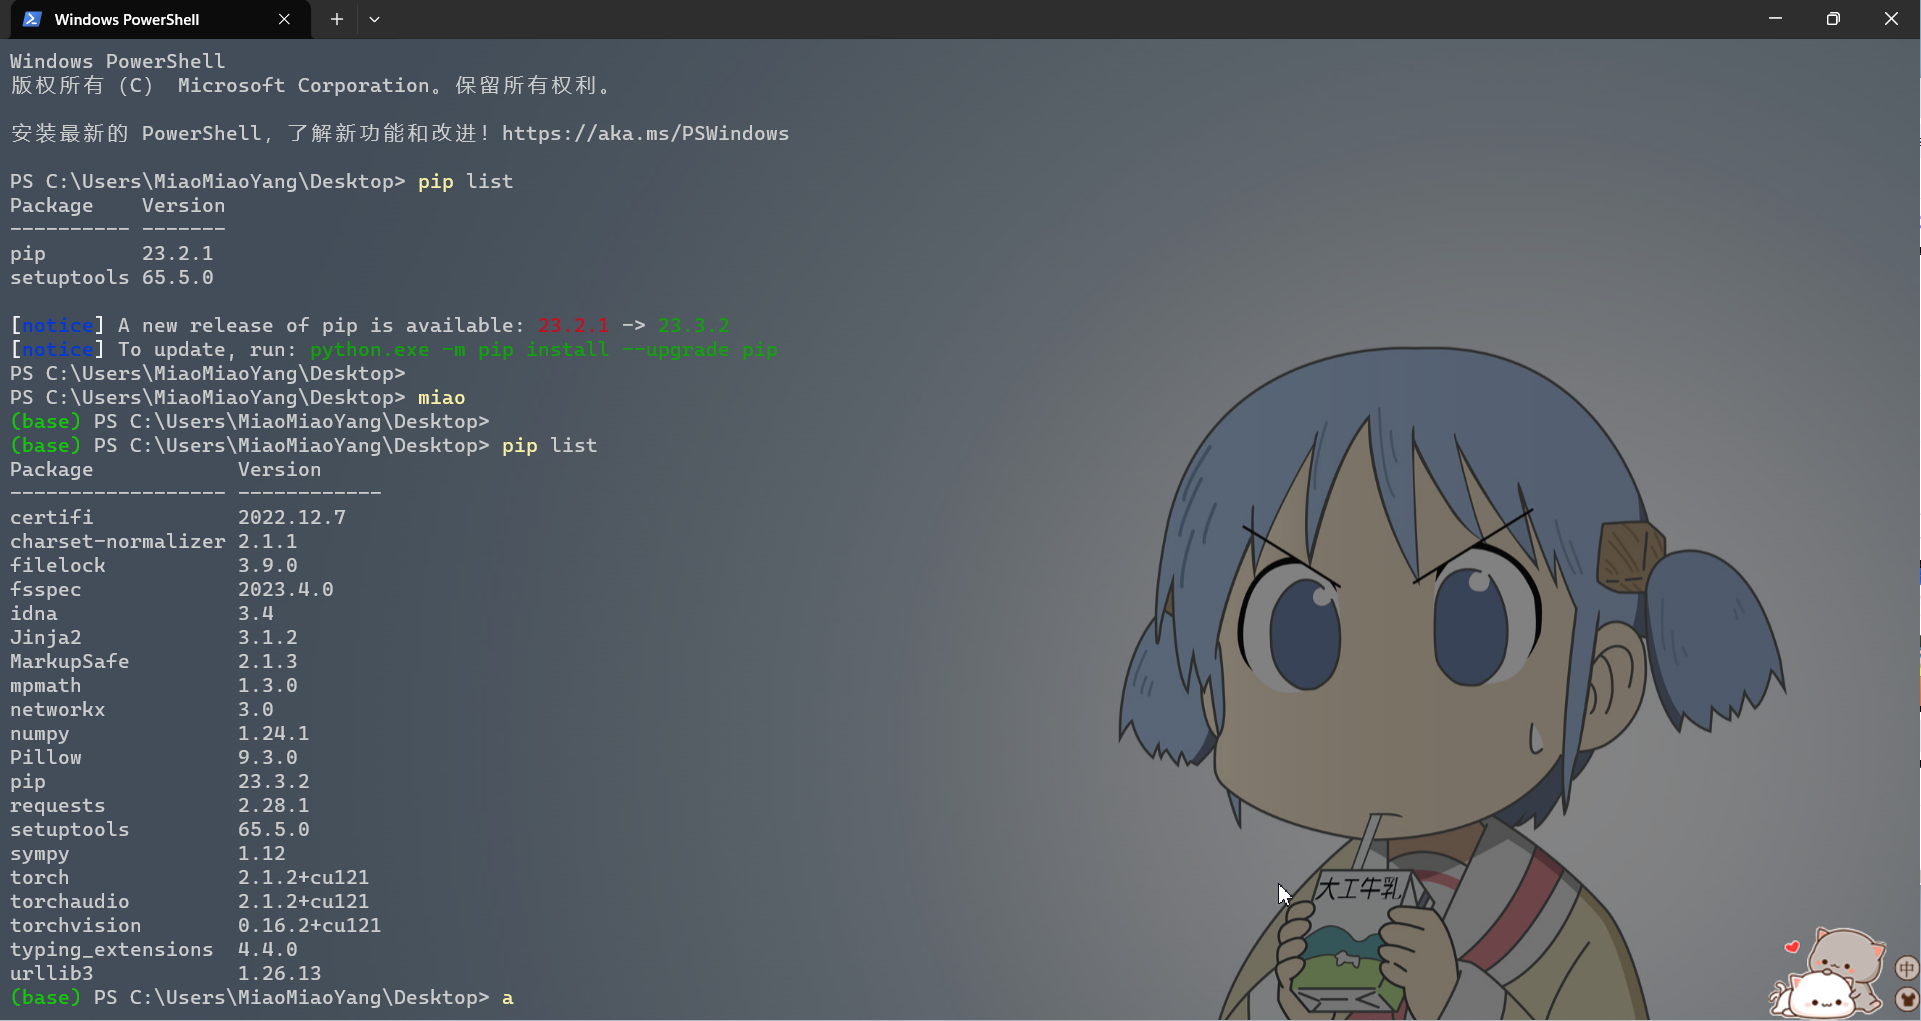
为了方便,将激活命令以别名方式写入powershell启动文件(见windows terminal调教指南)

1
Add-Content $Profile 'Set-Alias miao D:\projects\py_envs\base\Scripts\Activate.ps1'

1.png

忽略警告

1
2
import warnings
warnings.filterwarnings("ignore")

mio

get_files_name

 1
 2
 3
 4
 5
 6
 7
 8
 9
10
11
12
13
14
## 按顺序得到当前目录下,所有文件(包括文件夹)的名字
def get_files_name(dire):
    '''
    按顺序得到当前目录下,所有文件(包括文件夹)的名字
    :param dire: 文件夹目录
    :return:files[list],当前目录下所有的文件(包括文件夹)的名字,顺序排列
    '''

    assert os.path.exists(dire), "{} is not existed".format(dire)
    assert os.path.isdir(dire), "{} is not a directory".format(dire)

    files = os.listdir(dire)
    files = natsort.natsorted(files)
    return files

get_json

1
2
3
4
5
6
## get json content as dict
def get_json(file):
    import json
    with open(file, 'r', encoding='utf-8') as f:
        dicts = json.load(f)
    return dicts

get_csv

1
2
3
4
5
6
7
## 获取csv文件
def get_csv(file, delimiter=','):
    import csv
    with open(file, 'r') as f:
        reader = csv.reader(f, delimiter=delimiter)
        result = list(reader)
    return result

save_csv

1
2
3
4
5
6
7
def save_csv(file, headers, rows, delimiter=','):
    import csv
    with open(file, 'w') as f:
        writer = csv.writer(f, delimiter=delimiter)
        if headers is not None:
            writer.writerow(headers)
        writer.writerows(rows)

get_normal_image

 1
 2
 3
 4
 5
 6
 7
 8
 9
10
11
12
13
## 加载一张普通格式图片 2D
def get_normal_image(path, size=None):
    '''
    加载一幅普通格式的2D图像,支持格式:.jpg, .jpeg, .tif ...
    :param path: 图像的路径
    :param size: 对图像进行指定大小
    :return: array: numpy格式
    '''
    image = Image.open(path)
    if size is not None:
        image = image.resize(size)
    image = np.asarray(image)
    return image

save_json

1
2
3
4
5
6
## save dict as json
def save_json(dicts, file, indent=2):
    import json
    info = json.dumps(dicts, indent=indent, ensure_ascii=False)
    with open(file, 'w', encoding='utf-8') as f:  # 使用.dumps()方法时,要写入
        f.write(info)

save_normal_image

 1
 2
 3
 4
 5
 6
 7
 8
 9
10
## 将numpy数组保存为普通的2D图像,支持.jpg, .jpeg, .tif
def save_normal_image(array, target_path):
    '''
    将得到的数组保存为普通的2D图像
    :param array: 想要保存的图像数组
    :param target_path: 保存的文件路径,注意:一定要带后缀,E.g.,.jpg,.png,.tif
    :return: None 无返回值
    '''
    image = Image.fromarray(array)
    image.save(target_path)

spline

https://stackoverflow.com/questions/12643079/b%C3%A9zier-curve-fitting-with-scipy

 1
 2
 3
 4
 5
 6
 7
 8
 9
10
11
12
13
14
15
16
17
18
19
20
21
22
23
24
25
26
27
28
29
30
31
32
33
34
def bernstein_poly(i, n, t):
    """
     The Bernstein polynomial of n, i as a function of t
    """

    return comb(n, i) * ( t**(n-i) ) * (1 - t)**i


def bezier_curve(points, nTimes=1000):
    """
       Given a set of control points, return the
       bezier curve defined by the control points.

       points should be a list of lists, or list of tuples
       such as [ [1,1], 
                 [2,3], 
                 [4,5], ..[Xn, Yn] ]
        nTimes is the number of time steps, defaults to 1000

        See http://processingjs.nihongoresources.com/bezierinfo/
    """

    nPoints = len(points)
    xPoints = np.array([p[0] for p in points])
    yPoints = np.array([p[1] for p in points])

    t = np.linspace(0.0, 1.0, nTimes)

    polynomial_array = np.array([ bernstein_poly(i, nPoints-1, t) for i in range(0, nPoints)   ])

    xvals = np.dot(xPoints, polynomial_array)
    yvals = np.dot(yPoints, polynomial_array)

    return xvals, yvals
Share on

MiaoMiaoYang
WRITTEN BY
MiaoMiaoYang